Reports Detail - Expert/Admin
- Report Detail Summary
- Admin Internal Notes
- Report Name
- Short Description
- Report Type
- Report Introduction
- Build Report
- How To Build Report
- Save Report
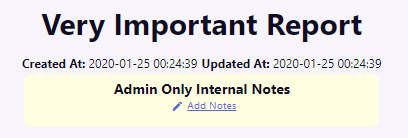
The top of the report page displays basic information about the report name, the date and time it was created, and the last date and time it was updated. The date is written as year-month-day. The time is written according to the 24-hour time system.
Admin Only Internal Notes
Below this, is a yellow box for “Admin Only Internal Notes.” Here you can add notations that all of the Admins of your organization can see, but none of the people or group members.
To add a note to the “Admin Only Internal Notes” area, click the text that says, “Add Notes” next to the pencil icon. A text field will open, in which you can write. You can change how big this text field is by grabbing the two little, diagonal lines at the bottom right corner of the box and dragging it to the desired dimensions.
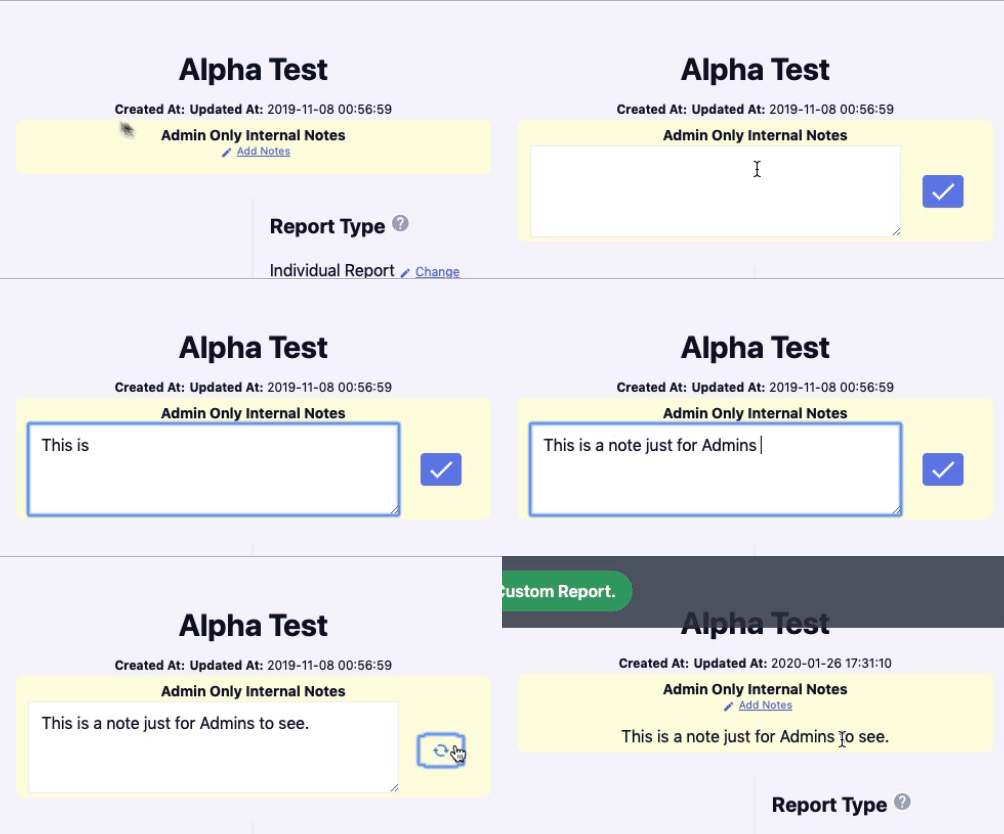
When you are finished writing, click the blue check box on the right to save the message. A green confirmation notice will display across the top of your screen stating, “Successfully updated the Custom Report.”
The text field will also save and close if you press the “Enter” or “Return” key on your keyboard.
Report Name
Report Name shows the current name of your report. If you want to edit the name, click the “Change” text next to the pencil icon.
{danger}NOTE: When you edit a report, it changes the report across ALL of the groups and people that are using it. So, if you only need to edit a report for one group, it would be best to make another report that has your desired revisions, give it a different title, delete the old report from the group, and add the new report to the group.
Report Short Description
Report Short Description is a short description (144 characters or less) to differentiate this report from the others when you are selecting reports in the Reports area of the Manage section.
To write in this area, click the “Change” text next to the pencil icon. Like the Admin Only Note box, shows the current name of your report. If you want to edit the name, click the “Change” text next to the pencil icon. A text field will open, in which you can write. You can change how big this text field is by grabbing the two little, diagonal lines at the bottom right corner of the box and dragging it to the desired dimensions.
When you are finished writing, click the blue check box on the right to save the message. A green confirmation notice will pop up on the top of your screen that says, “Successfully updated the Custom Report.” The text field will also close if you press the “Enter” or “Return” key on your keyboard.
Report Type
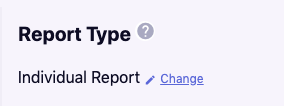
The Report Type area is where you select who this report is for and how it will be used. If you're not sure, stick with an Individual Report.
- Individual reports are for one person and every report section is about understanding or improving some facet of the individual.
- A Group Report is for multiple people and describes the individuals within a group and their dynamic.
- A Two Person Comparison Report is about two people and has report sections that compare the couple and examine their relationship.
When you select your report type, only the report sections that correspond to that report type appear in the Build Report area. Since report sections are unique to each type, if you change your report type in the middle of building a report, the Build Report area will remove any report sections that no longer match your newly chosen report type.
Report Introduction
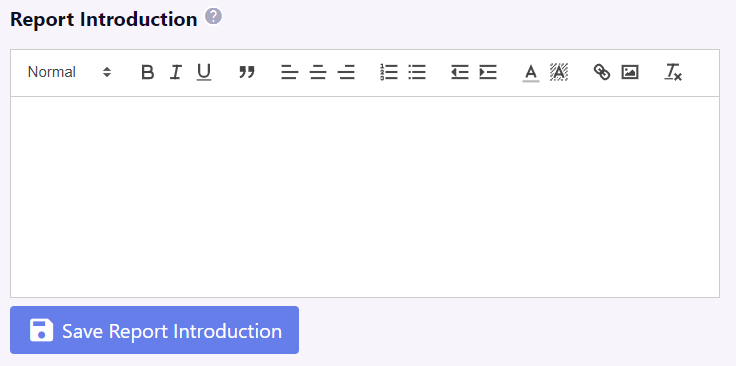
Report Introduction is where you compose the Introduction text of this report. The Introduction is whatever message you want to give your report user before they read on to the psychological report sections. This space can be a custom greeting, instructions on how to use the report, or an explanation of the coaching/counseling process. It could even be used to assign activities or “homework” for clients/students to do with the report on their own.
Report Introdcution can be left blank. If this section is left blank, then it will not show up when people open this report.
{info}NOTE: Whenever you create or edit the report introduction, you must click the “Save Report Introduction” to save your changes. The other information fields on the page will either ask for confirmation when you change them or save automatically.
Build Report
Build Report is where you construct the report sections of your custom report.
“Available Report Sections”
The right column has a list of report sections that you _could _use as sections of your report (they are available to you if you want them). Each report has a little cards with a tool for you to grab and rearrange that report piece (the blue diamond with an X in the middle), the report section name, and a blue eye icon. Click the blue eye icon to see a brief description of what that report section is about.
“Included Report Sections”
The column to the left is a list of the sections in your report in the order in which they appear. Use this area to determine and arrange exactly which Report Sections will show up in this report and the order they will appear.
Is there a way for me to view the full contents of a report section?
Yes, there is! You can preview any of the report sections by clicking the 'Preview Section' button. On the left side, you will see the button for all sections. On the right side, click the eye link and then you will see a button to Preview Section.
How to Build Your Report
Browse the “Available Report Sections” list and click the blue eye icon to view a brief description of each report section.
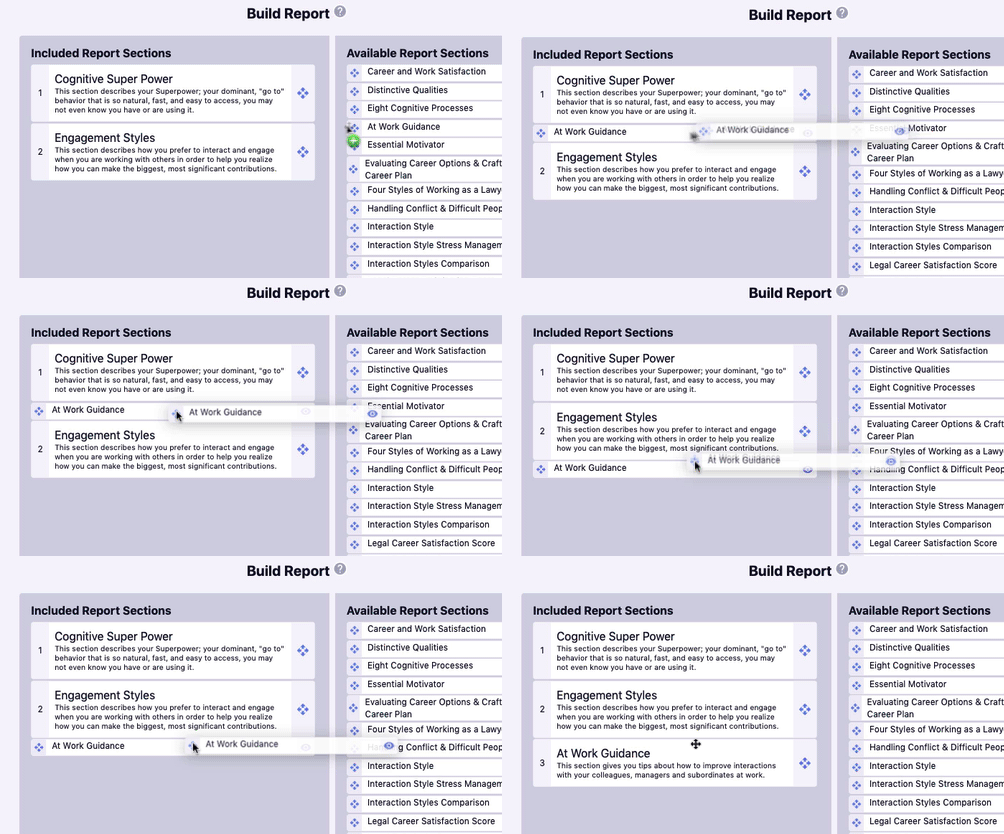
When you find a section that you would like as part of your report, click AND HOLD the arrangement tool that is the blue diamond with an X in the middle, and then drag the little, white report section card to the left column. Drag your chosen report sections within the left panel up and down to change their order. To remove a section from your report, click AND HOLD the report section and drag it from the left panel to the right. Simply, dragging the report section outside of the left column will not remove it. You must put it back in the right column.
How do I save my report?
Whenever you create or edit the report introduction, you must click the “Save Report Introduction” to save your changes. The other information fields on the report page will either ask for confirmation when you change them or save automatically when you leave the page.
